The basis of effective communication is an attractive creative – easily accessible even to novice users thanks to SARE’s intuitive Drag&Drop editor. The ability to choose between the Drag&Drop editor and the standard editor offers flexibility to suit different needs and skills.
To use the Drag&Drop editor, choose options: Mailing → New → Create new design → Blank template. You also have ready-made templates to customize according to your requirements.
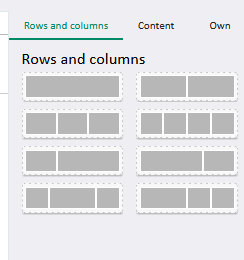
Creation Layout
The creation of an email message starts with building the skeleton of the creation. On the right side of the editor, there are different types of layouts that can be dragged to the center of the editor. This way, you have full control over the appearance of your mailing.
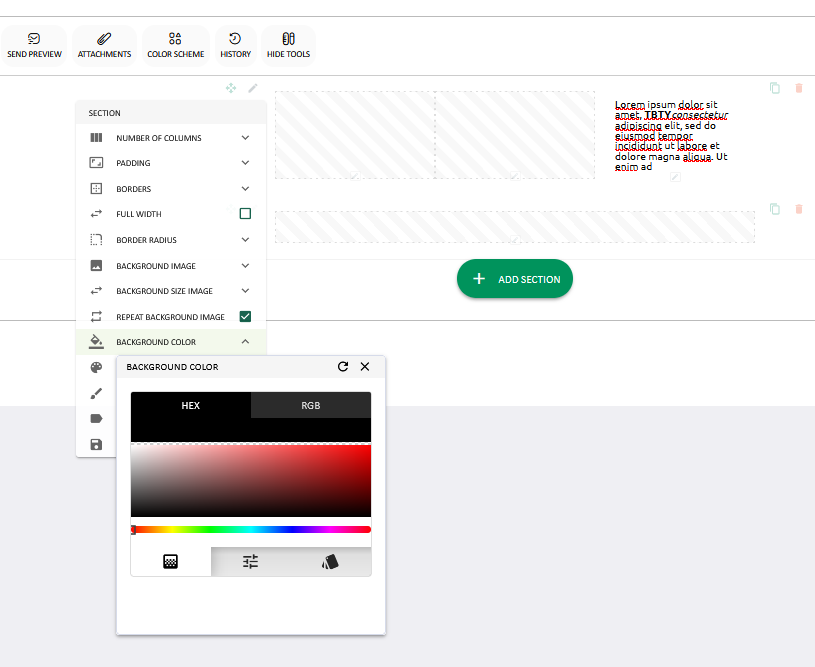
Each of the added layout sections can be edited individually. By selecting the “external” pencil function, you have the option to edit the number of columns, width, height or background. Changes in the width and height of the section are made using padding, this option is also found in the drop-down list in the section.
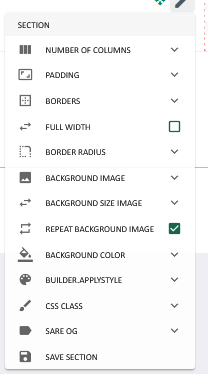
You can set the background manually by entering a color name, which allows you to maintain visual consistency throughout the mailing.
Want to add something extra? Add a background graphic – but keep in mind that this is not always a good idea, as it may not display correctly in all mailboxes.
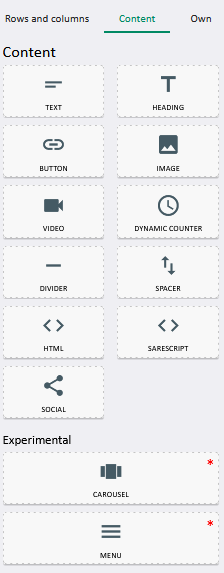
Content Creation: Building Your Story
The layout content is also on the right side of the editor. Building content involves dragging selected elements to the appropriate places in the mailing. You edit each piece of content by clicking on it or selecting the pencil located on the inside of the respective section.
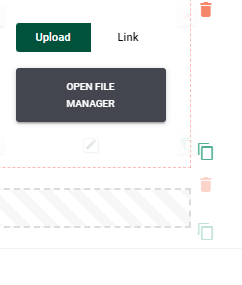
For example, you will import an image by selecting “open file manager” and selecting a properly prepared graphic from a folder, or by using a URL link. Remember that the imported graphic should be 100 by 100 pixels in size and saved in one of the formats: .jpg, .png or .gif.
Many types of content can be added in the Drag&Drop editor, including text, headings, buttons, video, horizontal line, spacing, scripts, social media links and even HTML code. For convenience, text should be in one of the basic fonts: Verdana, Tahoma, Times New Roman or Arial.
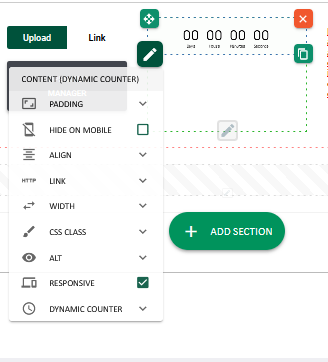
You can also use the dynamic counter feature , which you edit with a pencil and a drop-down list visible when you click.
In the section where the text is placed, you can set the appropriate SARE footer. Web preview footer allows you to open the newsletter in the browser page.

Each mailing should include a footer that allows you to opt out of receiving further mailings – a legal requirement that is easy to meet with our system. Just click on the place where you want to place the footer and select “Opt-out footer” from the drop-down list.

After selecting the opt-out footer, the text with a hyperlink appears. When clicked, the edit panel is revealed – it allows you to edit the opt-out link (%remove_link%).
You also have the option of placing a link to the cancellation with the form (%remove_link2%), which will allow you to understand the reasons for cancellation.
Record and Preview Creation: Perfection at Your Fingertips
Once you have completed your creation, save your work by selecting the Save As, or Save options, located on the top panel. The former allows you to save the creation as a new project, while the latter allows you to update it.
Want to see what your creative looks like before it’s sent? Use the preview available directly in the SARE system, or send yourself a preview to an email address of your choice. This way, you can be sure that everything looks exactly the way you want it to.