Enhance your site with SARE plugins for WordPress and WooCommerce
We are glad you decided to use our plugins. Make sure to make your website even better. As a result, you can enjoy more functionality and better integration with our services. We have prepared a simple guide for you to help you install and configure the plugins.
Installation and configuration of the SARE plugin for WordPress
To add our plugin to WordPress, you must first go to the management panel of your store, then:
- Click on the “Plug-ins” tab. → “Add New”.
- Then use the option “Send plug-in to the server”. – here you will find our plug-in.
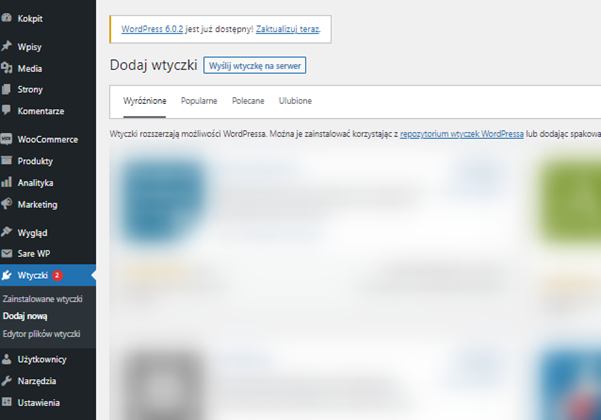
- After installing the plug-in, go to the “SARE” section in the left menu and do the integration.
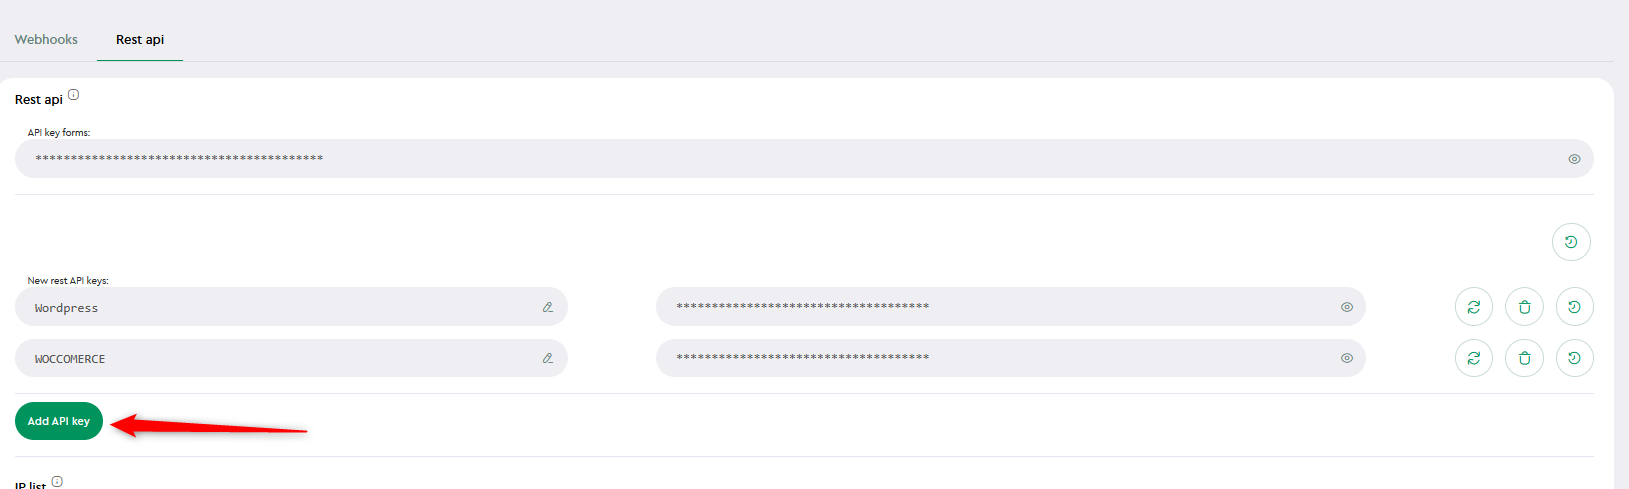
The integration requires a UID number and an API key. To obtain them:
- Go to your account in the SARE system.
- Select: “Advanced” → “API” → “Rest Api”.
- Then click “New rest api” → “Add api key”.
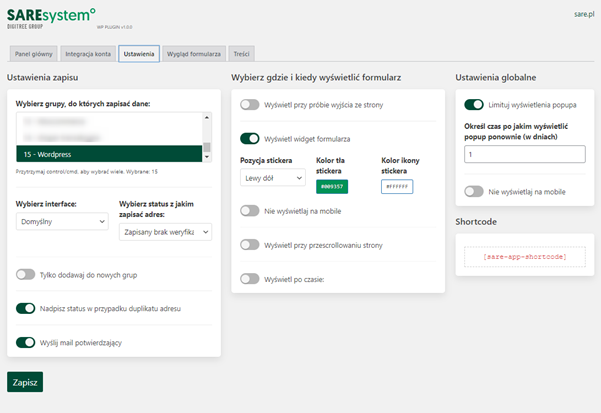
In the plugin’s “Utilities” you can define such elements as the group and display of the plugin.
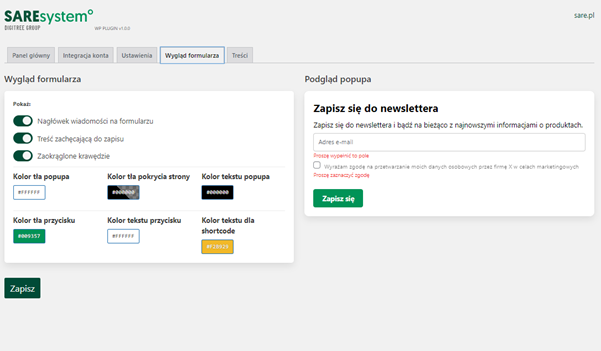
You can also create your own form design and customize the content of your marketing consents.
Installation and configuration of the SARE plugin for WooCommerce
To use our WooCommerce plugin, follow the steps below:
- Click in your WooCommerce store panel: “Plugins” → “Add New” and then use the option: “Upload plugin to server”.

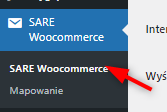
- Once the plug-in is installed, select it from the list “Plug-ins” → “Installed plugins” and click “Enable”.
- The plugin is shown in the list as: “SARE WooCommerce”. Select it and go to configuration.
Configuration includes the following steps:
- Enter the UID number and API key. You can find the key in the SARE system, in the menu on the left, under “Advanced” → “API” → “Rest Api.”
Point to the SARE interface. - Specify whether to send a consent request from SARE (double opt-in consent).
- Save the changes you have made.
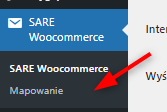
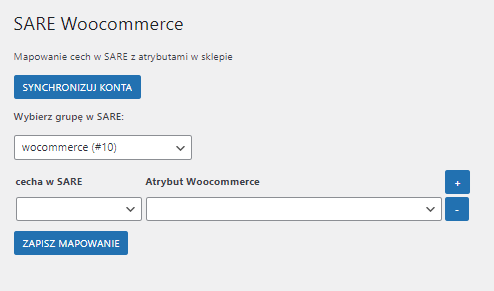
Next, you can go to “Mapping” to define the group to which the addresses added by the plugin will go, and indicate which features in SARE you want to assign the data to. When everything is set, click “Save mapping” and then “Synchronize accounts.”
Congratulations! Now your website is better integrated with our services. Take advantage of the additional capabilities offered by SARE plugins for WordPress and WooCommerce and enjoy better functionality of your site.