Zapier makes it easy to create integrations between hundreds of different applications, even if they don’t have built-in integration features. This allows users to automate many daily tasks, saving time and minimizing the need to manually transfer information between different tools.
Examples of Zapier’s applications include automating marketing processes, managing customer data, synchronizing information between different office applications or creating tasks in project management systems.
What does the integration of the SARE system with Zapier enable?
The integration of the SARE system with Zapier allows the use of REST API features such as:
- sending a single email (transactional email),
- Sending a single SMS (transaction sms),
- adding / updating the base,
- Creation of a new group within the SARE system,
- clearing the group,
- removing addresses from the group.
How to integrate Zapier with SARE – a step-by-step guide
- Log in Zapier.
- Create a new path by selecting the “Make a Zap” tab.
- From the range of available integrations, choose the one from which the SARE integration will be implemented. To do this, select “Choose a Trigger” (e.g., Google Sheet or another module where the address database is collected – Facebook Lead Ads, the e-commerce platform of your choice, etc.).
- Specify the data to be sent from the selected application to the SARE system.
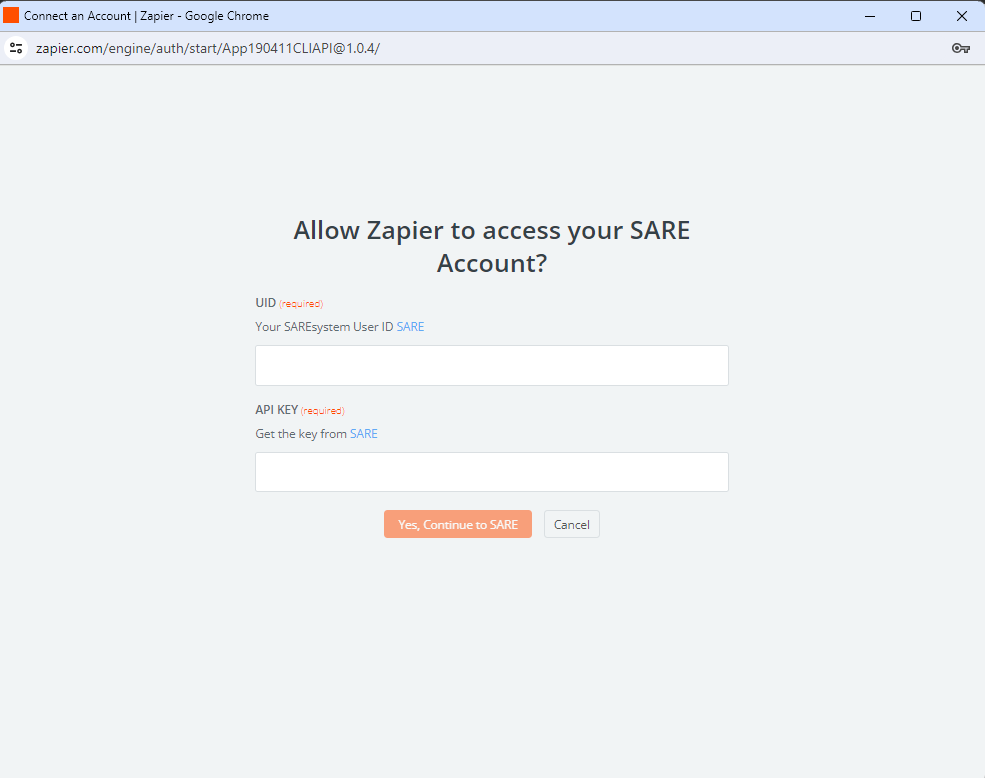
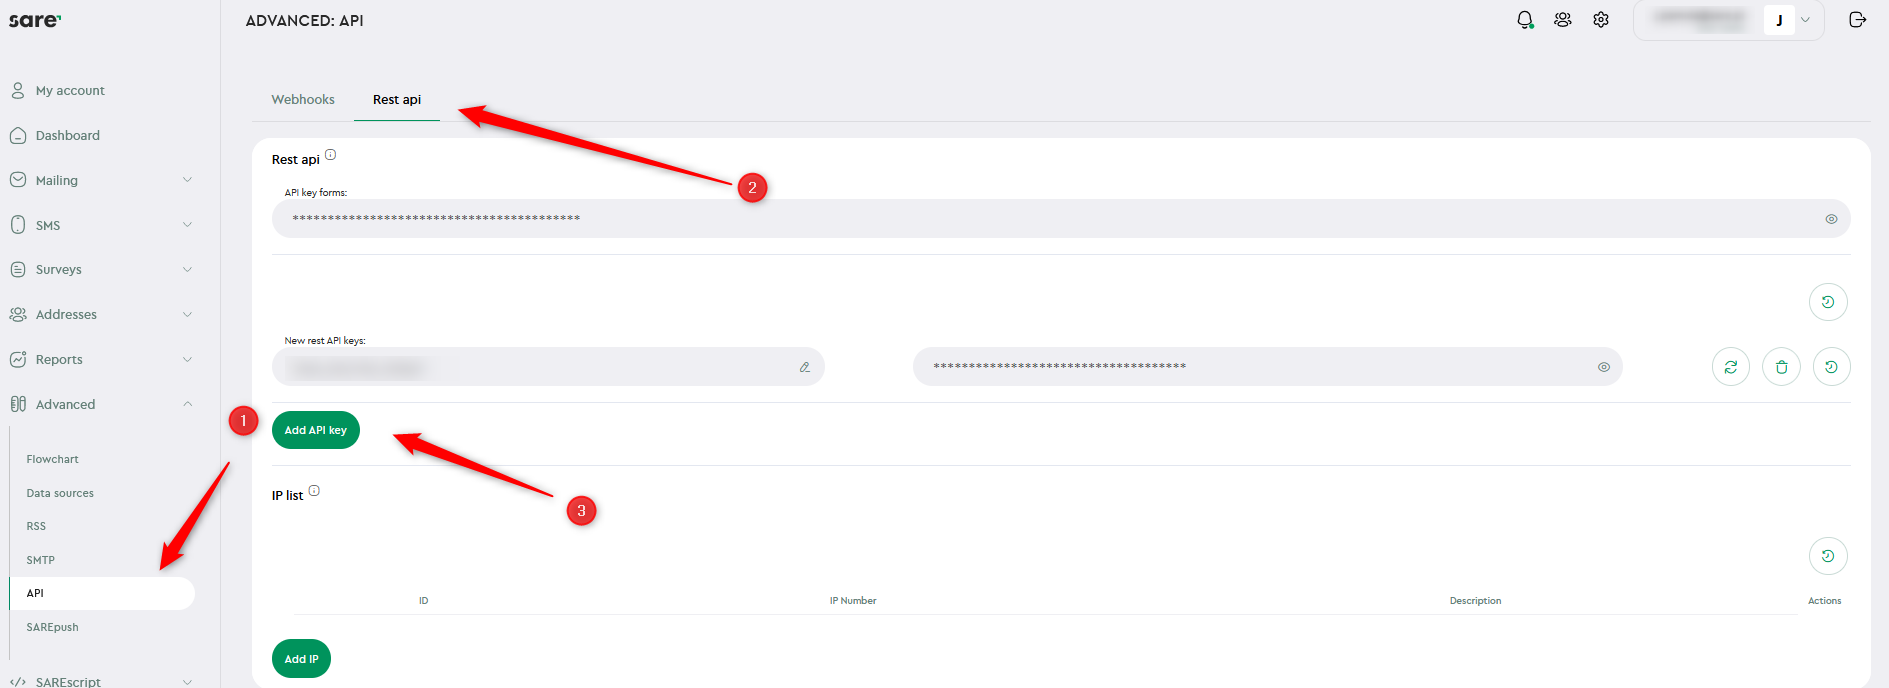
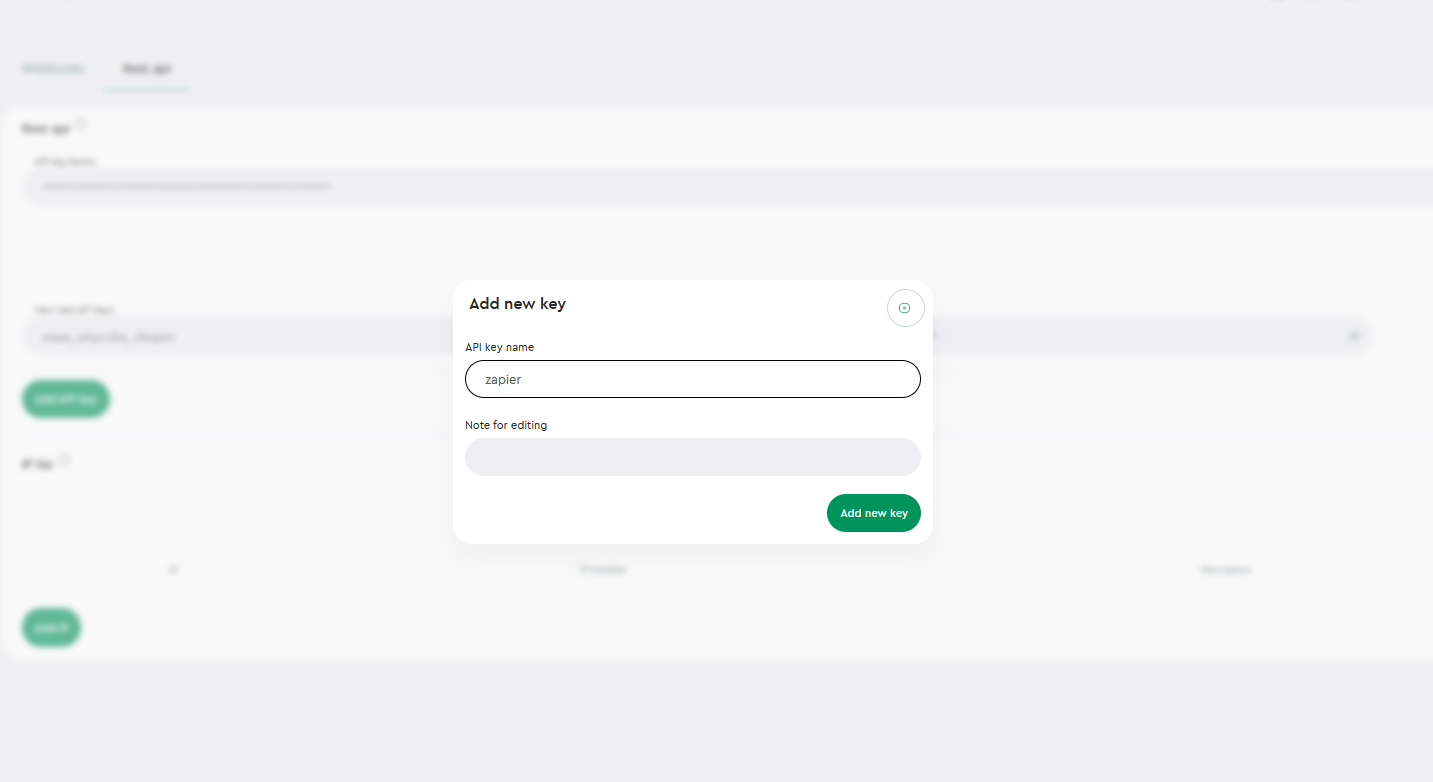
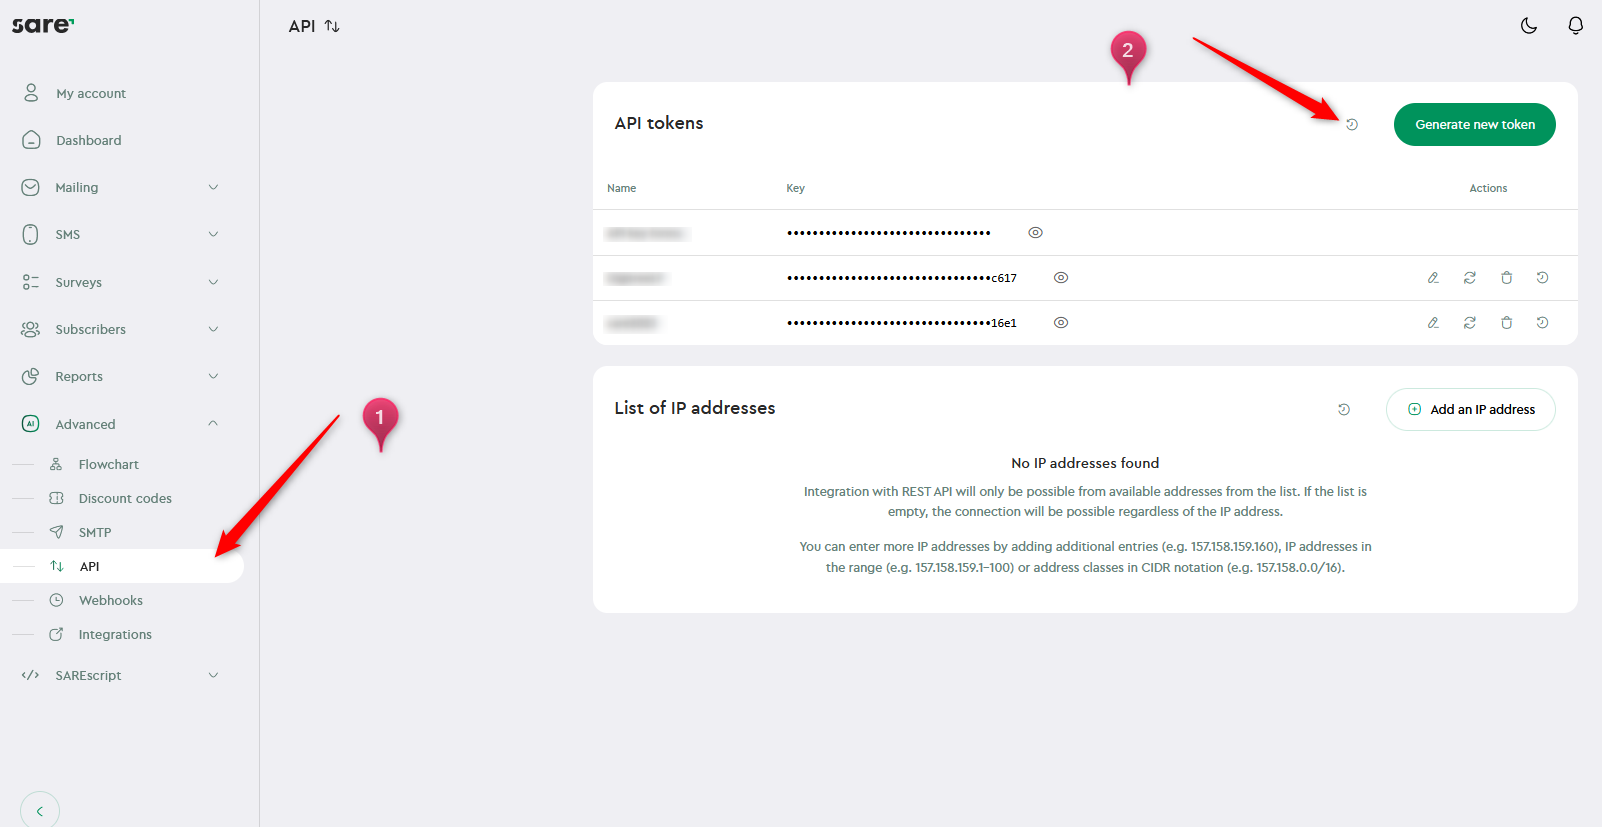
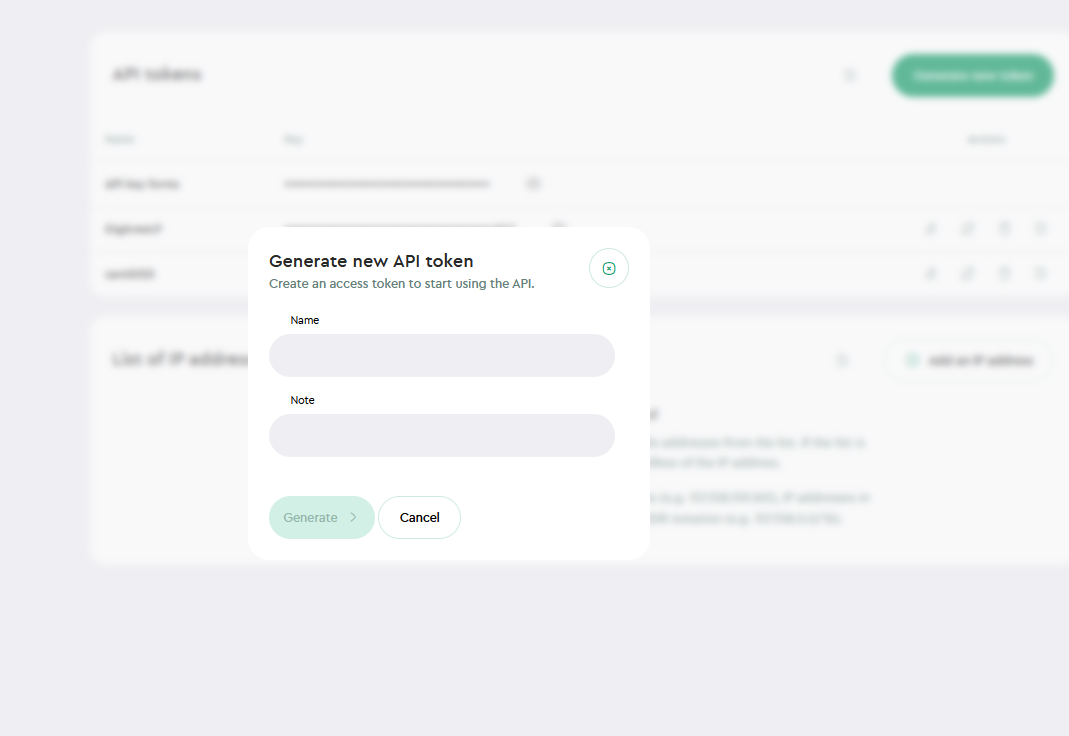
- Integrate the SARE system with Zapier by entering the UID and API key (the integration key is available in SARE under: Advanced → API → Rest API):